Garage Door Maintenance Checklist: Monthly, Twice-Yearly and Yearly Tasks
In short
A garage door maintenance checklist for San Diego homeowners, split into monthly safety tests, twice-yearly hardware and lubrication tasks, a yearly balance and battery backup check, plus coastal and inland add-ons and the findings that need a pro.
A good garage door maintenance checklist runs on three schedules. Once a month, test the safety reverse and the photo eyes and look over the springs and cables. Twice a year, clean the tracks, tighten the hinge and track bolts, lubricate the moving metal and check the rollers and seals. Once a year, test the balance, test the battery backup and have the springs, cables and opener settings inspected. San Diego homes add one more item depending on location: a rust check near the coast, a heat and dust check inland.
Each task below is safe with basic tools, and each section notes the findings that mean you stop and call.
What never goes on a homeowner checklist
Some parts store enough force to break bones. The torsion spring over the door, or the extension springs along the upper tracks on older doors, carry the weight of the door. The lift cables, the cable drums and the bottom brackets where the cables anchor are under that same tension whenever the door is closed. Looking at them is part of the checklist. Adjusting, loosening, tightening or replacing them is not. A door that has come off its track also belongs to a technician, because forcing it back can release spring tension without warning.
Monthly: safety tests
- Watch one full open and close cycle from inside the garage. The door should move steadily, without jerks, scraping or a pause, and both sides should rise evenly.
- Test the safety reverse. Set a short board, such as a 2x4 laid flat, in the door's path at the center and close the door with the opener. When the bottom edge meets the board, the door should stop and go back up. If it presses down and stays there, unplug the opener and do not use it until it is adjusted.
- Test the photo eyes. While the door is closing, pass a broom handle through the invisible beam between the two small sensors near the floor. The door should stop and reopen. Never test with a hand, a foot or a pet.
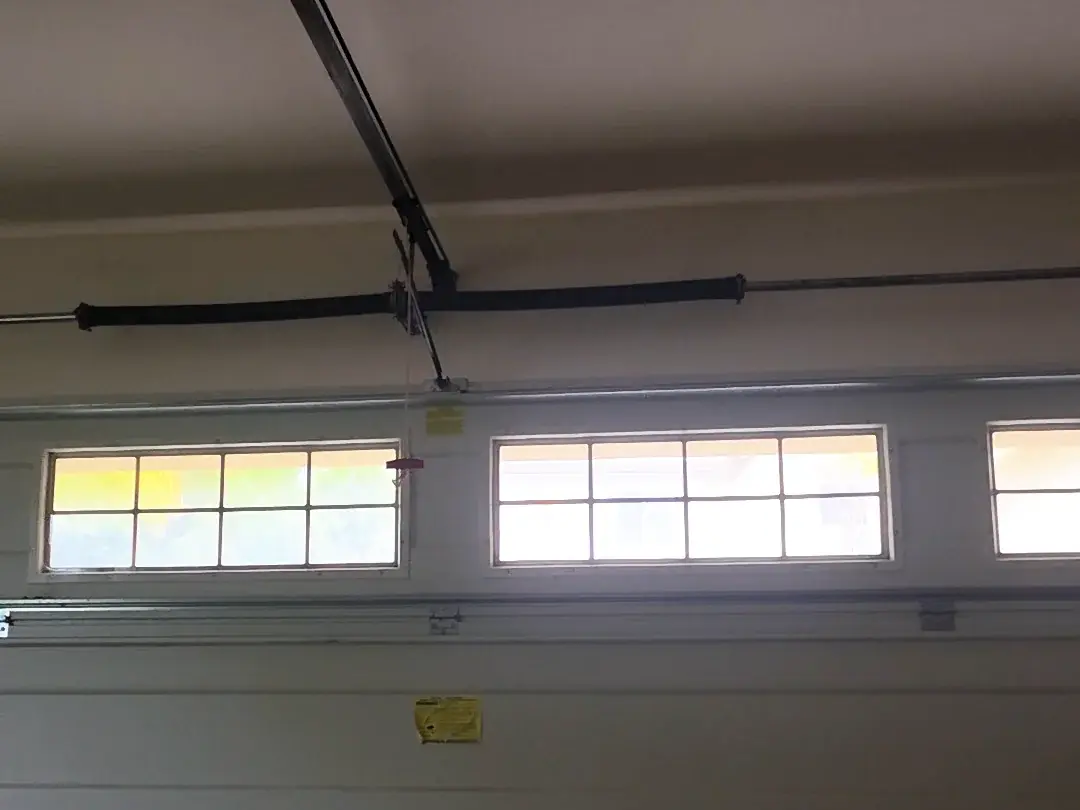
- From a step back, look at the spring over the door and the cables at each lower corner. You are looking for a gap in the spring coils, frayed strands, kinks or a cable sitting loose on its drum.
- Press the wall control, each remote and the keypad, and note any that respond only at close range. Weak range is often just a battery.
If the opener has no photo eyes at all, it is older than the current safety standard, which since the early 1990s has called for a secondary entrapment device on residential openers. Older neighborhoods are worth a look: in Clairemont, for example, Census survey data shows roughly four in five homes were built before 1980, and some garages still run an opener from that era. An opener without photo eyes is due for replacement rather than repair. For more on these tests with children and pets in mind, see our garage door safety guide.
Twice a year: hardware, lubrication and seals
- Clean the tracks with a damp rag and dry them. Remove leaves, cobwebs and grit, and look for dents or bends that a roller would bump over. Leave the inside of the track dry.
- Tighten the bolts that hold the hinges to the door sections and the track brackets to the wall, using a socket wrench and a snug, not forceful, turn. Skip the bottom brackets and everything on the spring assembly.
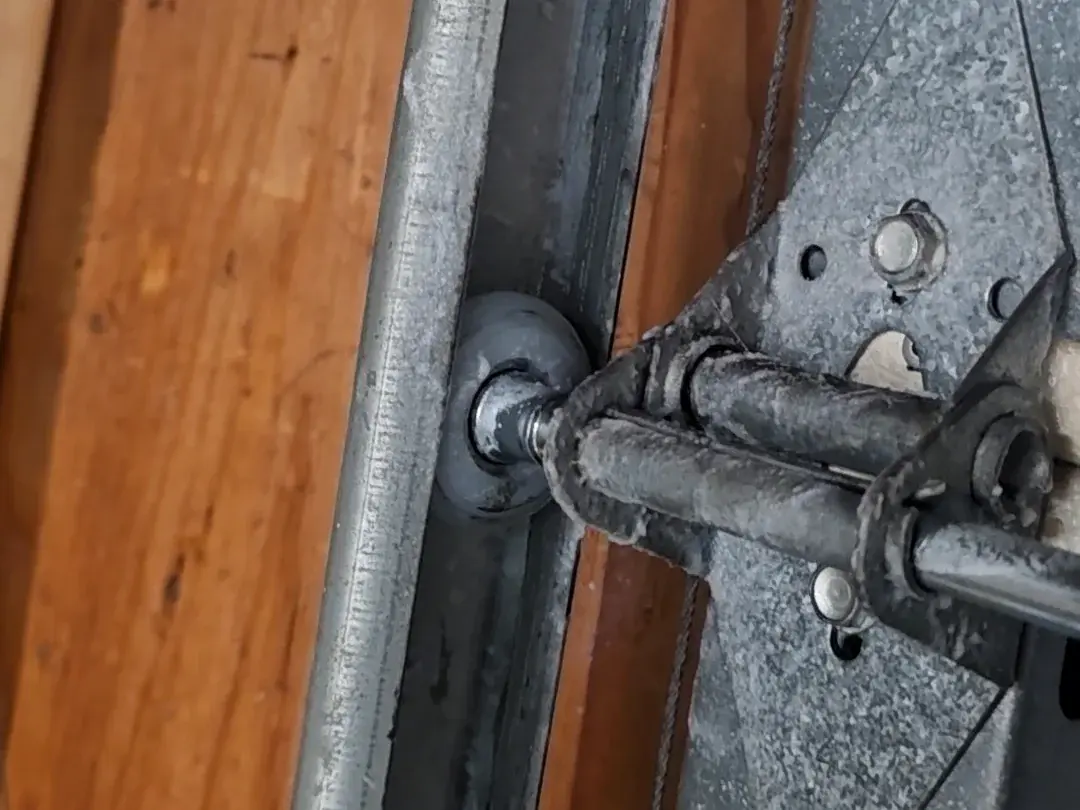
- Check each roller for a cracked or chipped tread, a wobble on its stem or a bearing that has rusted solid. Worn rollers are a common source of rumbling.
- Lubricate the hinges, roller bearings, spring coils and shaft bearings with a garage door spray, then wipe off the excess.
- Clean the photo eye lenses with a soft dry cloth and make sure both sensor lights show steady.
- Inspect the bottom seal for cracks, flat spots or gaps where daylight shows, and check the side and top weatherstrip.
- Replace remote and keypad batteries if range has dropped.
Lubrication is the step most people get wrong, mainly by using the wrong product or spraying the tracks. Our guide on how to lubricate a garage door shows exactly where the spray goes and what to leave dry.
Once a year: balance and battery backup
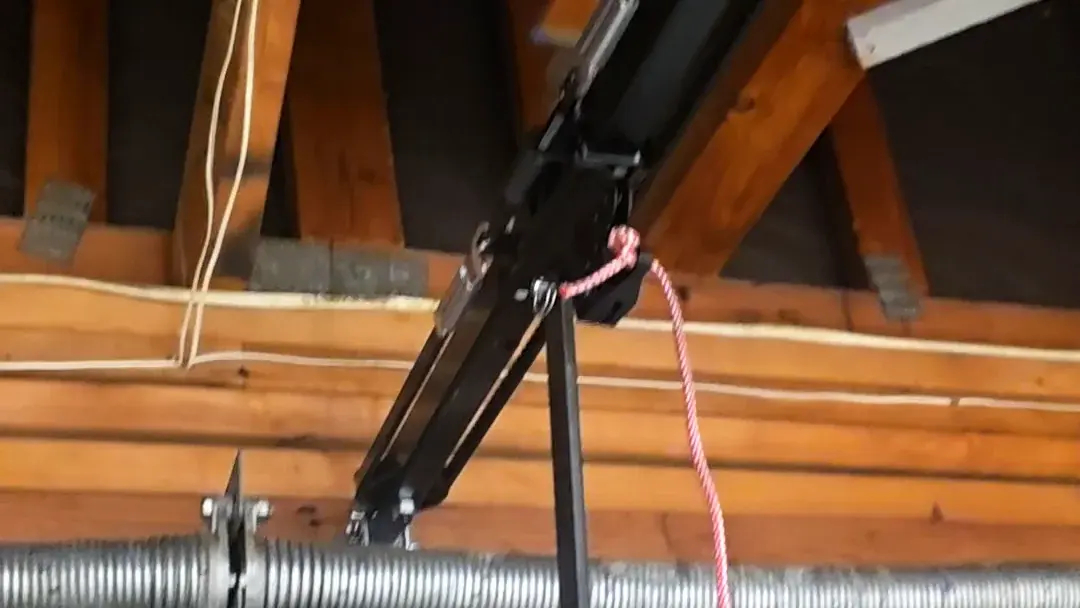
The balance test shows whether the springs are still doing their job. With the door fully closed, pull the release handle hanging from the opener rail to free the door from the opener. Lift the door to about waist height and let go. A well-balanced door stays roughly where you left it or moves only a little. If it drops toward the floor or climbs on its own, the springs need adjusting or replacing, and that is not a homeowner task. Lower the door, then reconnect the opener as its manual describes. Only pull the release cord with the door closed: on an open door with a weak spring, the door can fall.
Then check the battery backup. Since July 1, 2019, California has required one on every residential opener made for sale, sold, offered or installed here; the rule sits in Health and Safety Code 19892, which SB 969 added in 2018 as Chapter 621. It also forbids pairing a replacement door with an existing opener that has no backup, and section 19891 allows a $1,000 civil penalty per opener. To test yours, unplug the opener and run the door once with the remote. If nothing happens, or the unit beeps, the battery may need replacing; the opener manual names the right one.
The yearly visit is also the right time for a professional inspection of the parts you only look at: spring wear and tension, cable condition, drums, bearings, bottom brackets, and the opener's force and travel settings.
Coastal homes: add a rust check
Salt air is the main enemy of door hardware near the ocean and the bays. In Pacific Beach, Ocean Beach and Del Mar, the area data used on this site puts close to every home within two miles of salt water. On those doors, check every few months for rust on the spring coils, the cable ends at the bottom brackets, hinges and the lower edge of steel panels. Rinse salt film off the door with fresh water and mild soap now and then, and keep a thin coat of lubricant on bare steel. Rust on a cable or bottom bracket is a reason to call, not to sand.
Inland homes: add a heat and dust check
In East County and North County Inland, from El Cajon and Santee to Poway and Escondido, summer heat and dry wind are harder on a door than salt. Heat dries out lubricant sooner, dust works into roller bearings, and strong sun cracks the bottom seal and fades or dries the face of a sun-facing door. On those homes, wipe the hardware clean before each lubrication pass, check the seals closely each spring and fall, and look at a wood door's finish for cracking or peeling so it can be refinished before the wood takes in moisture.
Findings that mean stop and call
- A visible gap in a torsion spring, or a loud bang from the garage followed by a door that feels very heavy.
- A cable that is frayed, kinked, slack or off its drum.
- A door hanging crooked, off its track or binding at one side.
- A door that falls or rises on its own during the balance test.
- A door that fails the safety reverse or photo eye test after you clean and align the sensors.
- Rust that has eaten into a bottom bracket, drum or cable end.
When to call a pro
This checklist keeps a sound door in shape and catches problems early, but it stops where the stored force starts. Spring adjustment, cable work, bracket repair and opener force settings take the right tools and training. A garage door tune-up and maintenance visit covers those parts and the balance on a schedule that suits your home. Call (619) 666-6054 to book one, or to have any finding from the list above looked at.
Checklist questions
Does a brand new garage door need maintenance?
Yes, a lighter version. Run the monthly safety tests from the first month, and do the twice-yearly hardware pass, since bolts can settle and loosen as a new door breaks in.
Should I keep a maintenance log?
It helps. A note of the date, what you checked, what you lubricated and anything that looked off makes a part that is getting worse easier to spot.
What should I check after a stretch of rain or strong wind?
Look for water at the bottom seal, debris in the tracks and around the photo eyes, and run the safety reverse test. Wind-blown grit in the tracks is a common cause of new noise.